
We finished the construction of our new wood-fired kiln on June 16, 2012 and fired it the same day. It was a great success!
We started the fires at about 5:20AM and fed wood into the kiln for the next 12 hours. The temperature climbed steadily until it reached about 2100°F, then it began to stall. Toward the end of the firing, it is not uncommon to have difficulty getting the temperature all the way up to the required 2400° F.
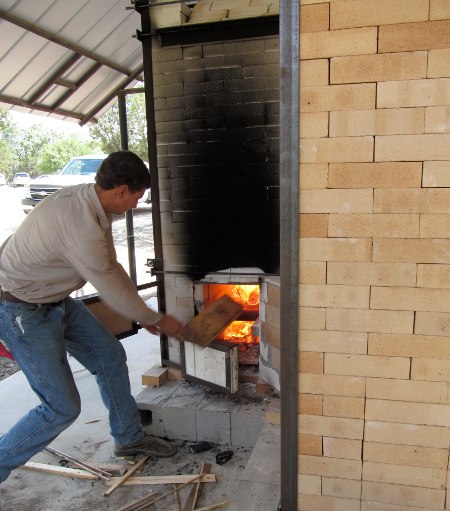
One of the men from the woodworking shop next door came by and gave us a few suggestions on how to stoke the fire, which helped a lot! Once we made some adjustments to how we were managing the fire, the temperature resumed it’s climb and reached 2400° F in roughly 45 minutes. Then we stopped feeding the fire and closed the fire box doors and the damper.
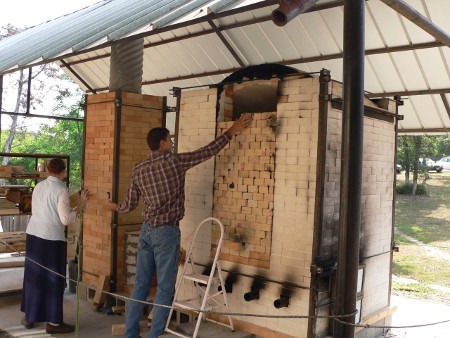
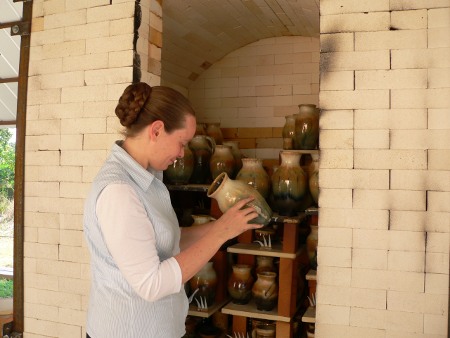
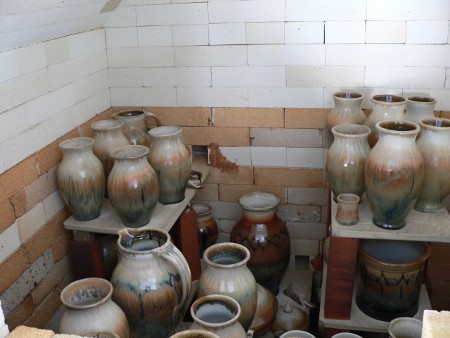
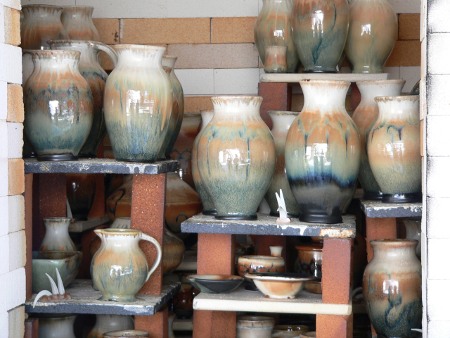
On Monday morning, when we unbricked the door (removed the bricks that form the kiln door) and began taking pots out, the results were beautiful! The colors were more vibrant than they had been in our gas-fired kiln, due to the influence of the ash on the glazes.
Overall, we are very pleased with the results of the new kiln and look forward to gaining more experience with it in the weeks ahead.
Related articles
To read more about the kiln and how and why we built it, read the articles listed below:
- Building a Wood-Fired Kiln — A Photo Essay
- Update on Our Wood-Fired Kiln
- Our Plans to Build a Wood-Fired Kiln
