As described in the update on our wood-fired kiln, our new kiln project is nearly complete. We thought you might enjoy seeing a photo essay of how it was built.
The base of the fireboxes are laid out, along with the first one-and-a-half courses of fire brick.

Mortaring and constructing the fireboxes.

Setting the hard bricks for the fireboxes.
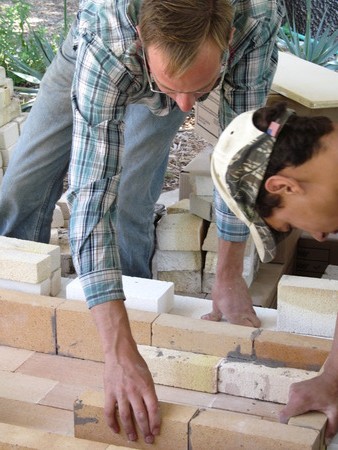
More setting of hard bricks for the fireboxes:

The completed fireboxes with the firebox roof in place.

One of the fire rods. These are made from a ceramic refractory material that last a lot longer than steel pipes. The wood will be fed into the fire on top of these rods.
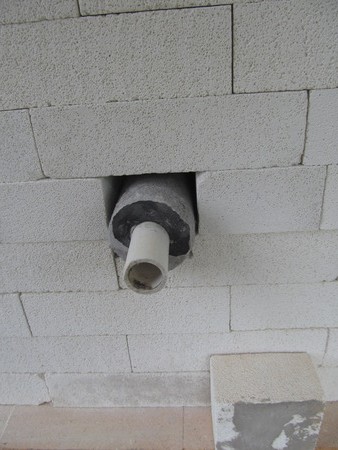
The inside of the fire box.

The flue, where smoke and fumes will exit the kiln. This channel connects the fireboxes to the chimney.
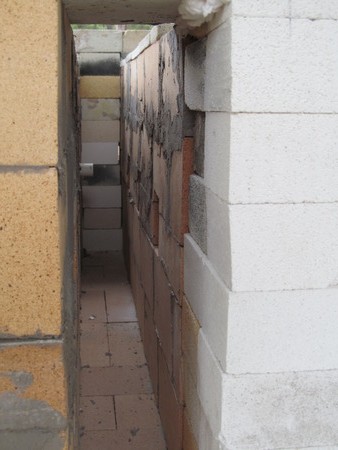
The first course of bricks for the firing chamber.

Setting the firebrick in place.

A view of the firing chamber after several courses of brick have been laid.

The firing chamber at about one-half its height.

Laying bricks from the inside and out.

Some of our helpers.

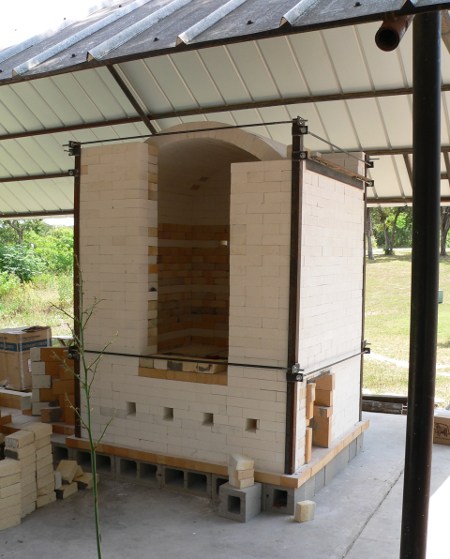
The firing chamber at its full height, before the roof has been added. The iron frame is being put in place. The bulk of the kiln is constructed using a method called dry-stacking. The bricks are laid so that they interlock, and the iron frame holds it together.
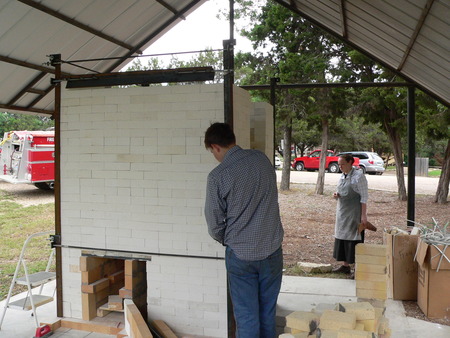
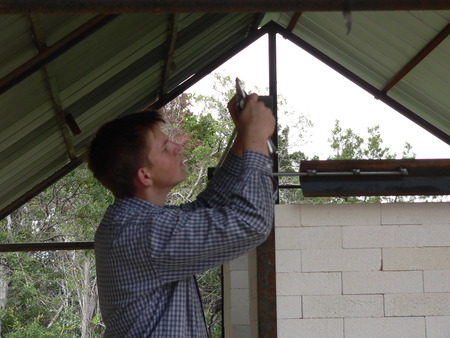
Bolting together the frame.
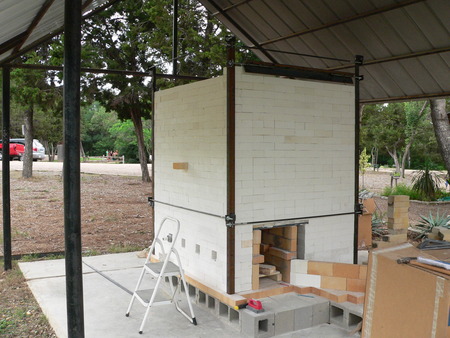
The completed chamber and framework — ready for the roof.
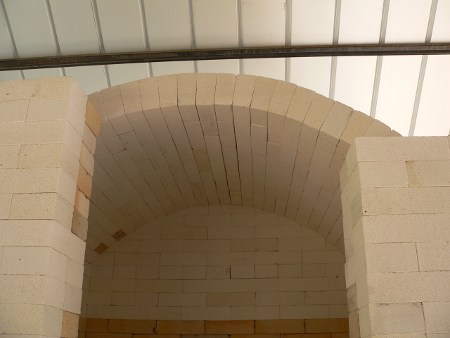
The free-standing arched roof from the inside.
The arched roof from the outside.
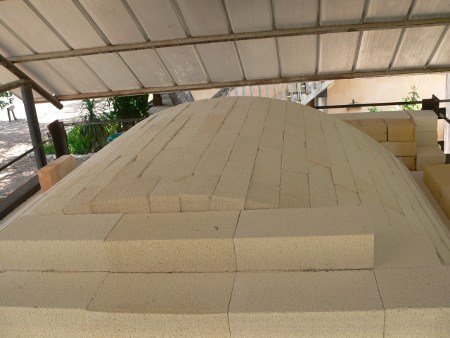
The kiln with roof in place.
Related Articles
For more information about the kiln see Update on our Wood-Fired Kiln and Our Plans to Build a Wood-Fired Kiln.
